Stubs in the Web Client
Stubs are created from the component execution page, where either entered input data or result data from an execution can be saved as a stub.
To create a new stub:
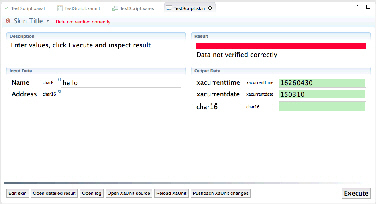
Find the XAPGMTST component or another component of your choice and click the Execute button, which will redirect you to the Execute page.
Execute the component.
Click the
 button and the save buttons are located on the Options panel. Click the Save result as stub button.
Enter a label and description for the stub and optionally choose a category. Click Create new.
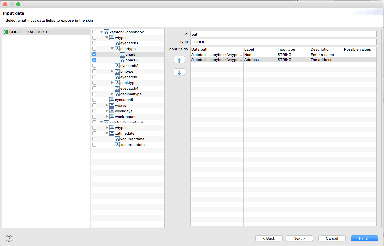
Navigate to the Component Repository > Component Stubs menu to see all stubs.
Find and select your newly created stub.
Click the Edit button and try to change a couple of values before clicking Update. You can also create a new stub from an existing stub.
We will now use the stub when executing the XAPGMTST or your own program. This will simulate the invocation of the component and the stub data will be returned. You can similarly create stubs of submodules that a component uses. If you add such stubs to a component execution, then the module will not invoke the sub modules but instead it will receive the stub data.
Complete the following steps to use the stub in a component execution.
Navigate to the execution page for XAPGMTST or your own module. Click the
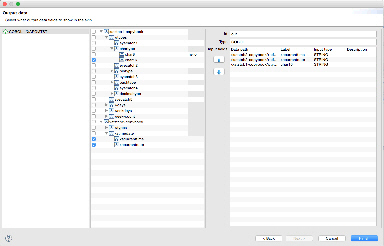
 button to view the Options panel. At the Stubs tab, click the Plus button. It will open a dialog for selecting a stub.
Select the newly created stub.
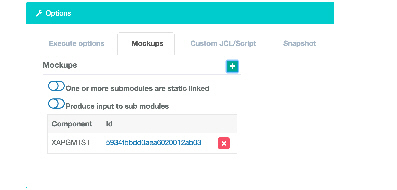
If one of the sub modules you are mocking is statically bound to the component, then you have to enable the One or more sub modules are static linked.
Execute the module, and you should get the data back equal to what you previously edited.
As usual you can save the input data, which will include information about the stubs. This is also true if you create a test scenario from the data.